
Create content
Introduction
To create a content, you firstly need to create a content type.
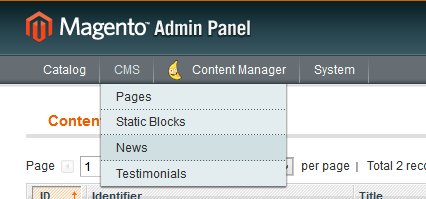
Once you created your content type, a new entree will be added to the CMS → Your Content Name menu.
If you are not administrator, make sure you have the permissions to create this content.
To create a content, click on “Add YourContentName” button.
Step 1 - Tab Content
This section is containing all the fields which composed your content, previously defined when creating the content type. New fields can be added at any time.
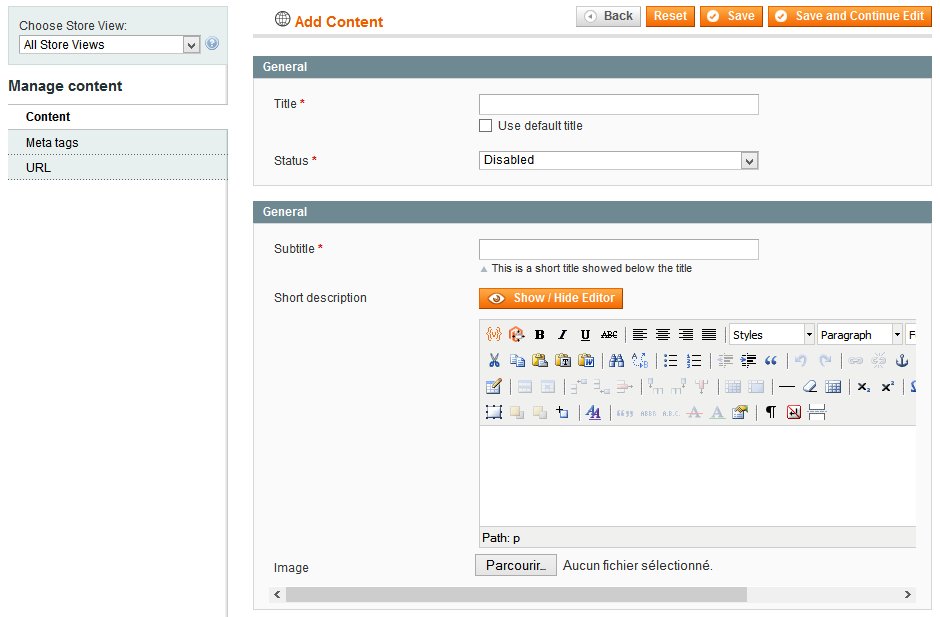
General → Title: This represents the page title of your content.
General → Status: This define if your content is enabled or not, it will results to be shown or not on frontend.
Then follow all customizable fieldset and fields for your content.
Click here to have a full description of each fields types.
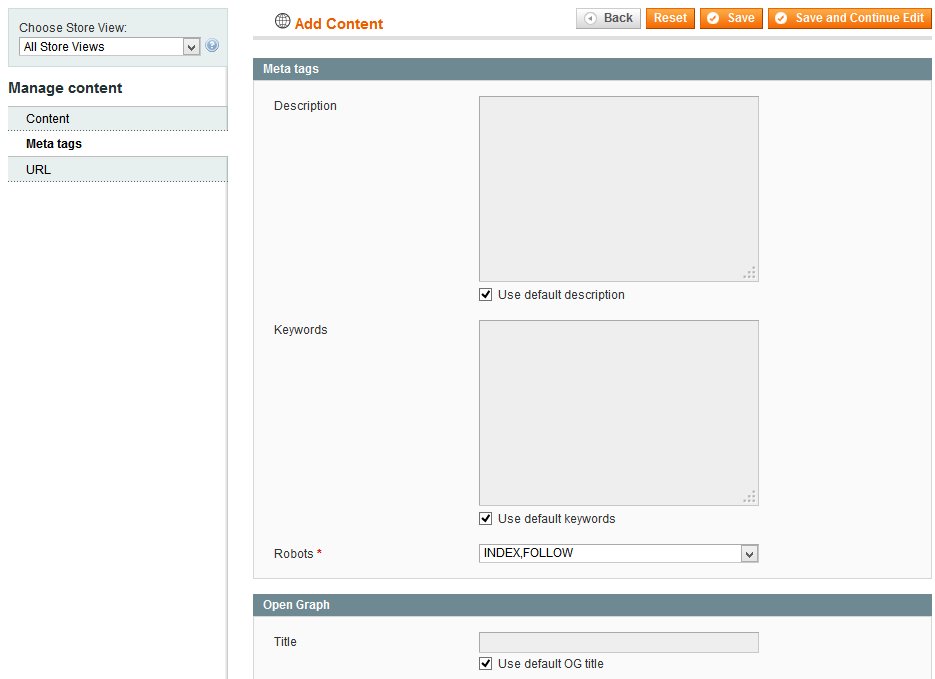
Step 2 - Tab Meta tags
This section define your meta tags for your content page.
These fields may have a default value, depending of your content type configuration.
Also, they may have a default value, with patterns auto-replacements.
These patterns will automatically be replaced by their corresponding value, based on your content, when saving your content.
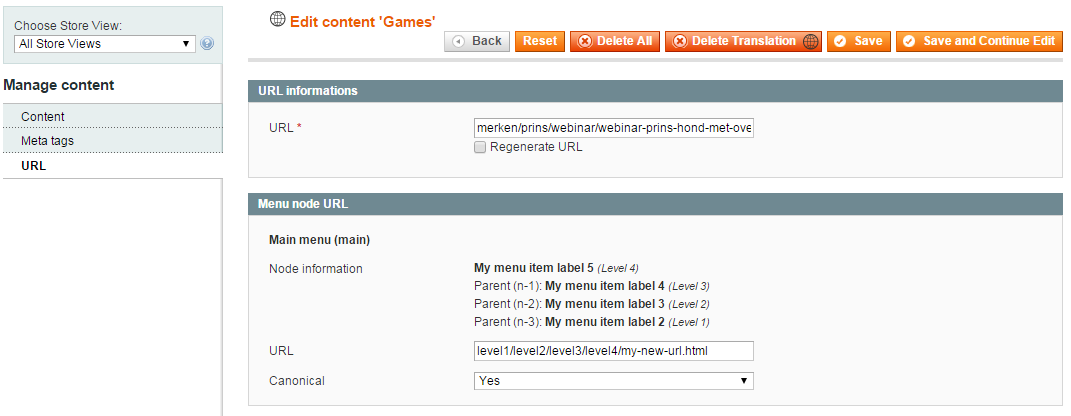
Step3 - URL
This section is defining your content URL.
This field may have a default value, with patterns auto-replacements.
These patterns will automatically be replaced by their corresponding value, based on your content, when saving your content.
If your content is attached to menu, the secondary URL are also listed in this place as a summary. You can modify it and select the one that are canonical directly from this form.
If no canonical are selected, the default URL will be used.
Translations
If your are using a multi store views website for translation, Advanced Content Manager allow you to translate each content.
To have a full description of this feature, click here.